To complete
your deployment setup, confirm the settings you selected.
To confirm and
complete the setup of a network deployment
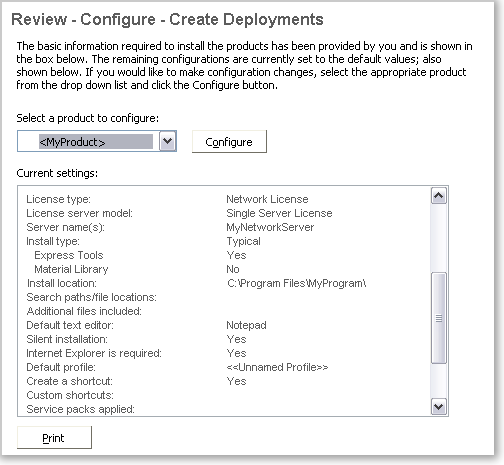
After making all your deployment settings, on the Review -
Configure - Create Deployments page, scroll the list of current
settings and verify your installation selections.
If you want to change any selections you made for the
deployment, click the Configure button.
If you want a hardcopy of the installation information
displayed on this page, click the Print button.
If you are ready to complete the deployment, click Create
Deployment.
On the Deployment Complete page, click Finish.
To confirm
and complete the setup of a multi-seat stand-alone deployment
After making all your deployment settings, on the Review -
Configure - Create Deployments page, scroll the list of current
settings and verify your installation selections.
If you want to change any selections you made for the
deployment, click the Configure button.
If you want a hardcopy of the installation information
displayed on this page, click the Print button.
If you are ready to complete the deployment, click Create
Deployment.
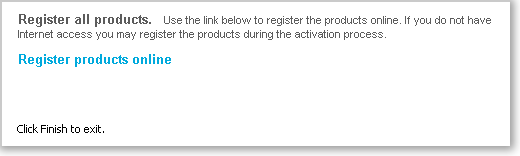
On the Deployment Complete page, click Register Products
Online.
Registration at this stage ensures that consistent data is being
used to streamline product activation. When a user installs from
this deployment and runs the product, registration data is
automatically referenced and the product gets activated. See
Register the Product.
Click Finish.
You have
created an Autodesk product deployment with precise options that
are specific to your group of users. You can now inform those using
this deployment where the administrative image is located so that
they can install the program.