


AutoCAD 2008
Network Administrator's Guide > Deploy the
Program > Use the Installation
Wizard to Set Up a Deployment >
Include Service Packs (optional)
During the deployment process, you can choose to include service packs that have been posted for your product.
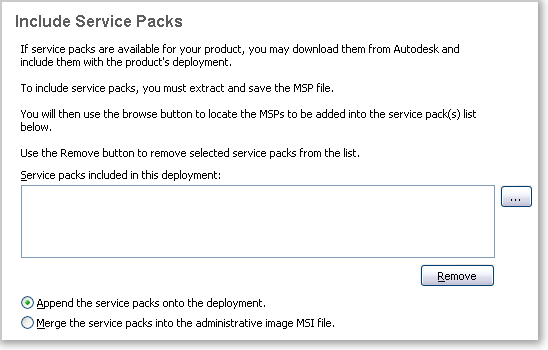
When you include a service pack, you can also specify how it will be handled. You can choose from the following;
To extract an MSP file from a service pack
ProductSP1.exe /e ./ProductSP1.msp
where <ProductSP1.exe> is the name of the downloaded patch and <ProductSP1.msp> is the name of the extracted file. Using ‘./’ in front of the extraction file name places the extracted file in the same folder as the original executable.
To include a service pack with the deployment
To include a service pack with a deployment, an MSP file must be extracted from the downloaded service pack executable.